Spice Up Your Holidays: Spiced Upside Down Cranberry Cake

-

Spiced Upside Down Cranberry Cake


Passion for Spices™ Team is very grateful for all wonderful community we shared our Food knowledge. Thankful for our Team members, sustainable vendors and community who support us even during the COVID times

Enjoy this recipe from Passion for Spices™ showcasing our Kashmiri Garam Masala.

Photo Nov 19, 5 13 49 PM.jpg

Procedure:

  1. Preheat oven to 350° F.

  2. In an 8-inch cast-iron skillet (*see note), cook 4 tablespoons of butter and brown sugar over medium heat. Stir occasionally until the butter melts and starts to bubble.

  3. Remove pan from the heat and let cool.

  4. In a small saucepan, cook the cranberries and orange juice and the Zest and cook until the cranberries start to pop.

  5. Remove from the heat and pour evenly over the cooled caramel..

  6. In another bowl add the flour, baking powder, spices and salt, whisking to combine.

  7. In another bowl beat the remaining 8 tablespoons butter and granulated sugar until fluffy and light.

  8. Beat in the two egg yolks, one at a time, and stir in the vanilla essence.

  9. Add the flour mixture alternately with the milk, starting and ending with one third of the flour. Mix until the flour is incorporated.

  10. In a separate bowl, beat the egg whites until they hold soft peaks.

  11. Fold one third of the egg whites into the batter and then gently fold in the rest.

  12. Pour the batter over the cranberries in the pan and smooth the top with a spatula.

  13. Bake for 30 to 35 minutes until the top is golden brown and the cake pulls away from the sides of the pan.

  14. Remove from the oven and let cool for 15 minutes.

  15. Run a knife around the edge of the pan, then invert the cake onto a serving plate.

  • If you don’t have an 8-inch cast iron skillet, melt the butter and brown sugar in a regular skillet and pour it into an 8-inch cake pan.

Ingredients:

1 1/2 stick (12 tablespoons) unsalted butter, divided
3/4 cup brown sugar
2 3/4 cups fresh cranberries
1/4 cup fresh orange juice
1 tbsp orange zest
2 eggs, at room temperature, separated
1/2 cup whole milk, at room temperature
1 1/2 cups unbleached all-purpose flour
2 tsp baking powder
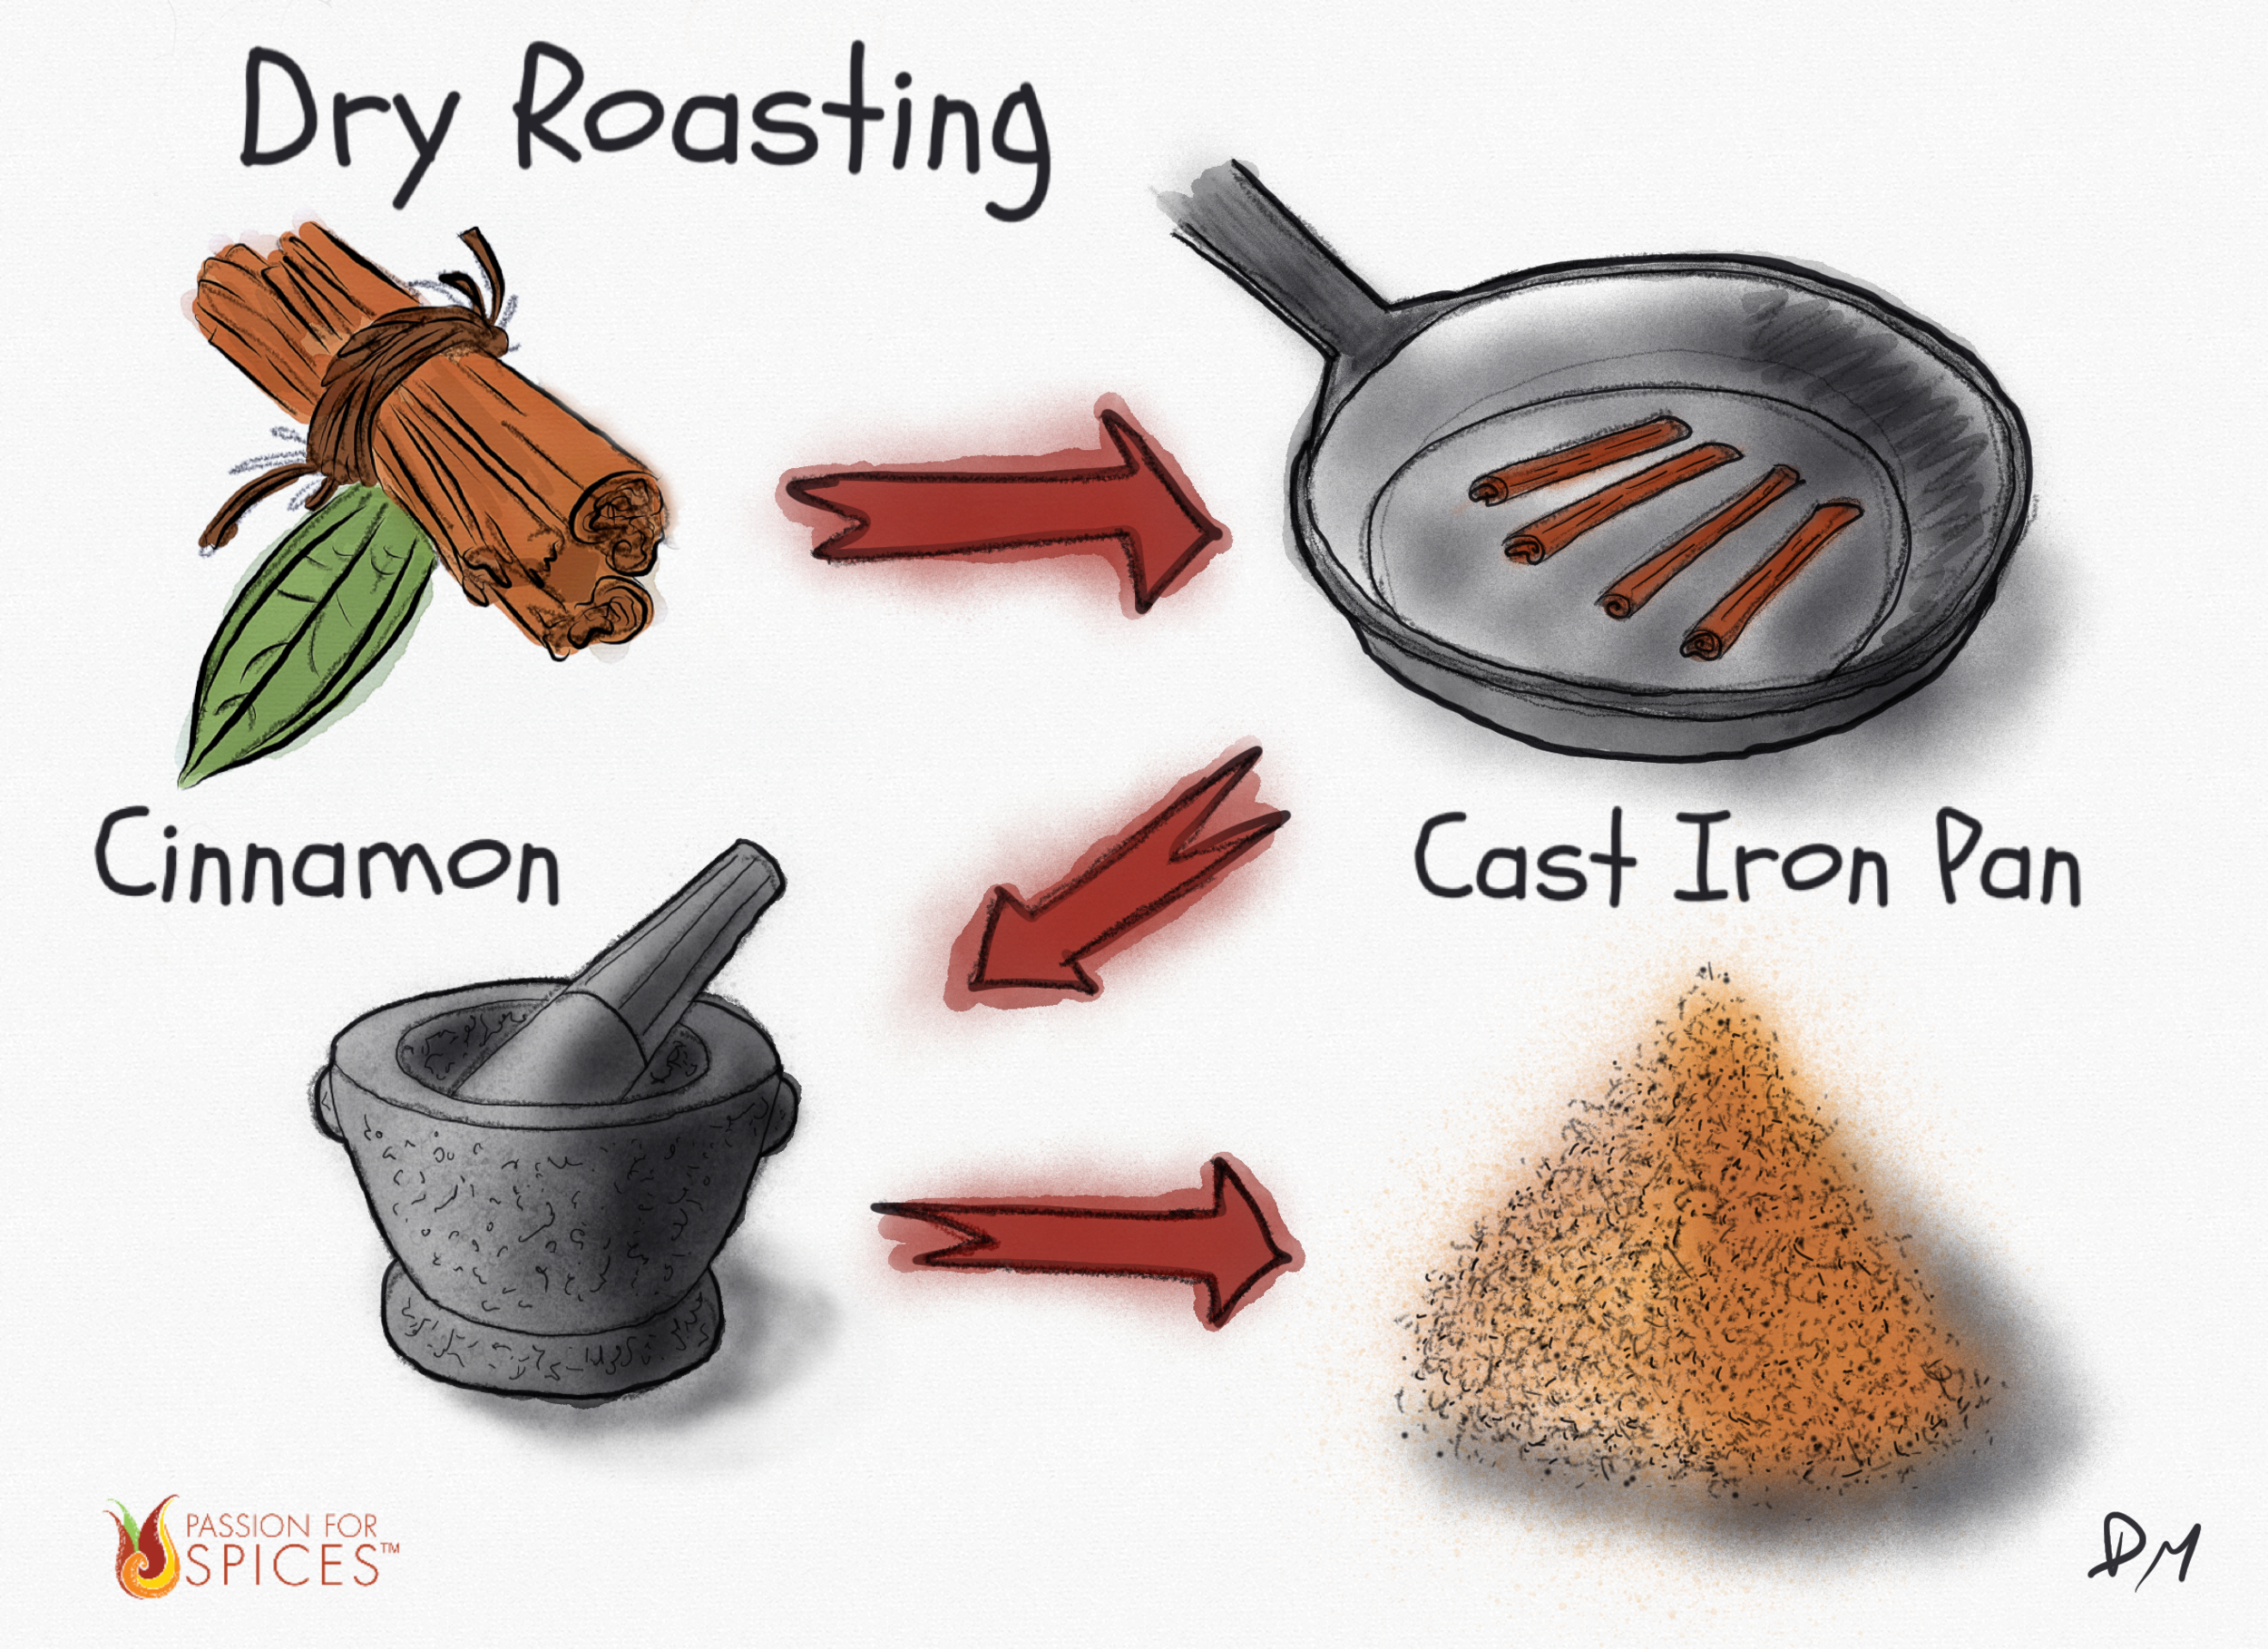
2 tsp Kashmiri Garam Masala
1/4 tsp salt
1 cup granulated sugar
1 tsp vanilla extract

IMG_0150.JPG

Spice Up Your Pantry: Cinnamon and Cassia

During these difficult times, Passion for Spices™ Team wants to showcase the immune system boosting spices that you can incorporate into your pantry for everyday use. This series is called Spice Up Your Pantry, where we will be showcasing basic spices that boost your immune system, and how you can use them in your everyday food.

Cinnamon and Cassia

Cinnamon2-300dpi.jpg

Cinnamon

Description: Ceylon Cinnamon is made by cutting the stems of the Cinnamomum tree. The inner bark is then extracted and the woody parts are removed. When the inner bark dries, it curls into rolls that can then be ground into powder.

Health Benefits: Cinnamon is loaded with antioxidants that have anti-inflammation properties and also can preserve foods. It may cut the risk of heart disease, lower blood sugar levels, and may have beneficial effects on neurodegenerative diseases such as Alzheimer’s. Animal studies have indicated that cinnamon may act against cancer cells, while Cinnamaldehyde, the main active component of cinnamon, can fight bacterial infections.

Origin: Cinnamon is native to Sri Lanka, the Indian Malabar Coast, and Myanmar (Burma). It is also cultivated in South America and the West Indies.


Cassia-300dpi.jpg

cassia

Description: Two main types of cinnamon are the above Ceylon Cinnamon and Cassia Cinnamon, also called Chinese Cinnamon. Although obtained in a similar process to Ceylon Cinnamon, Cassia is thicker and tends to have a dark-brown color. It has a more pungent and less delicate flavor.

Health Benefits: High in Coumarin, Cassia can be dangerous if consumed in large quantities because of its potential to inflict damage to the kidneys, the liver, and the lungs. However, it is the most widely available cinnamon in stores and has been used in Chinese medicine for centuries. Cassia has similar benefits to Ceylon Cinnamon, but its essential oil ratios are somewhat different. If you eat a lot of cinnamon, it is much safer to use Ceylon Cinnamon.

Origin: Cassia cinnamon comes from the Cinnamomum cassia tree. Originally from Southern China, it is now grown in Eastern and Southern Asia.


Culinary Use of Cinnamon and Cassia

Cinnamon Blooming-300dpi.PNG
Cinnamon Dry Roasting-300dpi.PNG

apple crisp

Enjoy this complimentary recipe from Passion for Spices™ showcasing cinnamon.

Screen Shot 2019-11-24 at 2.33.33 PM.png

Procedure:

  1. Preheat the oven to 400 degrees F. Place apples, lemon juice and Kashmiri Garam Masala in a baking dish and spread evenly.

  2. For the crumb topping, mix all ingredients to form a crumb consistency.

  3. Sprinkle topping on top of the apples.

  4. Bake apples for 40 minutes until the top is crisp and the apples bubble. Place apple slices in individual bowls and serve warm with vanilla ice cream.

Ingredients:

4 cups apples peeled, cored, and sliced
2 tbsp lemon juice
½ tsp Kashmiri Garam Masala

For the Crumb Topping:
1/2 cup flour
1 tsp. Kashmiri Garam Masala
2 tbsp butter (cold)
1/2 cup brown sugar
3 tbsp old-fashioned oatmeal

Spice Up Your Pantry: Nutmeg and Mace

During these difficult times, Passion for Spices™ Team wants to showcase the immune system boosting spices that you can incorporate into your pantry for everyday use. This series is called Spice Up Your Pantry, where we will be showcasing basic spices that boost your immune system, and how you can use them in your everyday food.

Part 2: Nutmeg and Mace

Nutmeg-300dpi.JPG

Nutmeg

Description: Nutmegs are the dried kernel of the nutmeg fruit which comes from evergreen trees of the Myristicaceae family. They are typically grounded for culinary usage, and their sweet, delicate flavor makes them a go-to spice for desserts and pastries.

Health Benefits: Nutmeg has anti-inflammatory properties and helps with indigestion and bad breath. It also contains a compound called eugenol, which benefits the heart, has antibacterial properties, and improves memory.

Origin: Native to the Spice Islands of Indonesia.


Mace-300dpi.JPG

Mace

Description: Unknown to most, nutmeg comes with a second spice; mace. Fragile and spindly, mace is the net-like covering, or aril, that is wrapped around the pit of a nutmeg fruit, which comes from trees of the Myristicaceae family. With its delicate flavor and fresh, bright red hue, mace is used to flavor bright dishes and surrender its saffron-like hue.

Health Benefits: Mace is used to treat indigestion and to relieve some joint pain, and it also can be a breath freshener. It also contains eugenol which benefits the heart, has antibacterial properties, and improves memory.

Origin: Native to the Spice Islands of Indonesia.


Culinary Use of Nutmeg and Mace

Mace-Nutmeg-Prep-300dpi.JPG

Gobi Musallam

Enjoy this complimentary recipe that uses both turmeric and black pepper.

cauliflower-with-leaves-on-white-background-PRDHZJ6.png

Procedure:

  1. Preheat the oven to 375 degrees F. 

  2. Rub the cauliflower with salt, turmeric and oil. Place the spiced cauliflower on an ovenproof tray and roast for 25 minutes or until tender. Remove the tray from the oven and set aside.  

  3. Grind all the ingredients for the spice masala into a smooth paste. 

  4.  In a large, heavy bottom pan on medium-high heat, add the ghee, oil, and the spice paste. Cook, stirring constantly, until the paste turns lightly golden brown.    

  5. Stir in the pureed tomatoes, tomato paste and milk until well mixed. Allow the spices and vegetables to simmer on a low heat for 8 minutes. Add the peas and stir well.   

  6.  Gently lay the whole cauliflower into the pan and baste with the prepared sauce. Cover the pan with a lid and cook for 5 minutes. 

  7.  Remove the lid and baste again, cooking for 10 more minutes with the lid off. Serve in a large bowl or platter, garnished with coriander leaves and nigella seeds.

Cooks notes:

Gobi Musallam makes a stunning centerpiece for the dinner table and is perfect for sharing. Give everyone a large spoon and dig in, being sure to break the tender morsels of cauliflower off its stem.  This dish is best accompanied with either a flaky paratha or a cucumber raita. 

Substitutions: 
You may substitute the cauliflower for a whole head of broccoli and cook it in the same way. 
You could substitute the cinnamon, nutmeg, cloves and cardamom spices with 1 teaspoon of Kashmiri Garam Masala.

Ingredients:

(For the Gobi Musallam)
1 whole cauliflower, leaves removed and roots left
1 tsp salt
1 tsp ground turmeric
1 tsp sunflower oil

(For the spice masala)
1 onions peeled and roughly chopped
2 green chilies
12 cashew nuts
1 clove garlic, peeled
1 inch piece ginger, peeled
1 tsp cinnamon
2 cloves
½ tsp nutmeg
1/4 tsp mace
6 green cardamom pods, husks removed
4 tbsp low fat Greek yogurt
1 tsp salt
1 tsp ghee
1 tbsp sunflower oil
2/3 cup fresh tomatoes, pureed
1 tbsp concentrated tomato paste
1 cup of low fat milk
1 cup frozen peas

(For the garnish)
1 tbsp finely chopped cilantro leaves
1 tsp nigella seed (optional)

Spice Up Your Pantry: Turmeric “Spice of Life”

During these difficult times, Passion for Spices™ Team wants to showcase the immune system boosting spices that you can incorporate into your pantry for everyday use. This series is called Spice Up Your Pantry, where we will be showcasing basic spices that boost your immune system, and how you can use them in your everyday food.

Part 1: Turmeric “The Spice of Life”

Turmeric-300dpi.JPG

Turmeric

Description: Turmeric (Curcuma longa) is a member of the “ginger” family, and is a rhizome. It has an active compound called Turmeric Curcumin which is proven to be very beneficial.

Health Benefits: Turmeric curcumin is an active compound proven to reduce inflammation, prevent oxidization, and stop the spread or reoccurrence of breast cancer, and it also exhibits antiviral properties.

Origin: Native to tropical Asia.


BlackPepper-300dpi.JPG

Black Pepper

Description: Black pepper (Piper nigrum) is a member of the “pepper” family. They start as berries picked when green, and they darken and shrivel upon dying.

Health Benefits: Pepper helps with indigestion and has a wide variety of vitamins, including potassium and magnesium. According to research, when eaten with turmeric, black pepper and all of its health benefits are better absorbed.

Origin: Native to southern India and the Americas.


Culinary Use of Turmeric and Black pepper

Turmeric-BlackPepper-300dpi.JPG

In traditional spice blends, Turmeric and Black Pepper are used together. They have to be cooked in a soluble fat like ghee or coconut oil for the spices to completely absorb in your body. According to Dr. Weil, an advocate for alternative medicine, there have been over 200 citations for turmeric benefits related to Cancer, Arthritis, and Alzheimer’s disease. At Passion for Spices™, we have a spice blend that is refined to incorporate turmeric and black pepper together which is made of quality, organic spices, with no salt or added ingredients. To learn more, visit our spice shop.


Spiced Grilled Veggies

Enjoy this complimentary recipe that uses both turmeric and black pepper.

PfS5.jpg

Procedure:

  1. Mix the oil, Keralan curry, salt and pepper in bowl. Coat the peppers, eggplant, pineapple and onions with the curry powder mixture. Grill all the coated vegetables and the pineapple. Set aside. Arrange the grilled vegetables, pineapple and avocados attractively on individual plates. Drizzle with vinaigrette. Sprinkle with chives and Kashmiri garam masala.

  2. Serve with your favorite rice. A perfect vegetarian dinner idea.

Ingredients:

2 yellow peppers, cut into large dice
2 red peppers, cut into large dice
1 eggplant sliced
3 red onions, peeled and sliced into rounds
1 pineapple, peeled, cored, and sliced
2 cups extra virgin olive oil
2 tablespoons Keralan curry
1 tablespoon salt
½ teaspoon ground black pepper
2 avocados pitted, peeled and cut into wedges
1 table spoon, finely minced chives
¼ teaspoon Kashmiri Garam Masala

Substitutions: Instead of Keralan curry, use brown turmeric and black pepper in combination. Instead of Kashimiri Garam Masla, you can use cinnamon.

Classic Breads from Around the World: Spinach Parathas

During these difficult times, Passion for Spices™ Team has put together beautiful illustrated recipes for you and your family to enjoy. Our first series is Classic Breads from Around the World, a five part series including Country Loaf Bread, Focaccia, and Flatbreads from Around the World.

Part 5: Spinach Parathas

Paratha4-300dpi.JPG

Ingredients

3 tsp sunflower oil, divided
1 tsp ajwain seeds
1 tsp finely grated ginger
1 green chili, finely minced (seeds removed)
1 cup organic baby spinach, chopped
1/2 tsp fine sea salt, divided
1/2 tsp amchoor (mango) powder
1 tsp ground cumin
2 cups plus 1 tbsp whole-wheat pastry flour, divided
2/3 cup water


Procedure

Paratha1-300dpi.jpg

Step 1:

In a heavy-bottomed pan, heat 1 tsp sunflower oil over medium-high heat. Add ajwain seeds, ginger, and green chili, and cook for about a minute. Add spinach and 1/4 tsp sea salt and cook until moisture released from the spinach is absorbed and the base becomes dry, about 3 minutes. Add the amchoor powder and cumin, mix well, and remove from heat. Set aside to cool. To make the dough for the paratha, mix 2 cups pastry flour and remaining salt in a shallow dish. Add spinach mixture to the flour mixture, then add water, little by little, to form a smooth dough (similar to a pizza dough consistency).

Paratha2-300dpi.jpg

Step 2:

Knead dough to get a smooth consistency. Place dough in a glass bowl, cover with a damp towel, and set aside at room temperature for 30 minutes to 1 hour. After 30 minutes to 1 hour, knead dough once again and form into 8 balls. Lightly dust your work surface with remaining flour and flatten each dough ball using a rolling pin into a 6-inch diameter.

Paratha3-300dpi.jpg

Step 3:

Preheat a cast iron griddle or flat skillet over medium-high heat. Place one piece dough in the skillet and cook for about 1 minute, or until it begins to bubble. Turn the paratha. Brush with 1/4 tsp of the remaining sunflower oil. Continue cooking for about 3-4 minutes per side, turning as necessary, until it has brown edges on both sides. Using a flat spatula, press the middle of the paratha as it’s cooking so it cooks evenly. Remove from the skillet, and repeat the cooking process with the remaining pieces of dough.

Paratha4-300dpi.JPG

Enjoy the Spinach Paratha!

Compliments from Passion for Spices™ Team

Classic Breads from Around the World: Pita Bread

During these difficult times, Passion for Spices™ Team has put together beautiful illustrated recipes for you and your family to enjoy. Our first series is Classic Breads from Around the World, a five part series including Country Loaf Bread, Focaccia, and Flatbreads from Around the World.

Part 4: Pita Bread

Pita4-300dpi.JPG

Ingredients

3¾ cups bread flour 
1¼ tsp fine sea salt
1⅓ cups room temperature tap water, about 75°F
2¼ tsp fine granulated active dry or instant yeast
2 tbsp olive oil
A baking stone or a large cookie sheet or inverted jellyroll pan


Procedure

Pita1-300dpi.jpg

Step 1:

Stir the flour and salt together and set aside. Whisk the water and yeast together with a mixing bowl. Wait 30 seconds, whisk again, and whisk in the oil. Use a large rubber spatula to stir in the flour and salt a little at a time until it is completely absorbed.

Pita2-300dpi (1).jpg

Step 2:

Turn onto a floured work surface, and knead the dough until smooth and elastic, about 5 minutes. Place the dough into an oiled bowl and turn it over so that the top is oiled. Cover with plastic wrap and let the dough ferment until it is almost double in bulk, about 30 minutes. Turn the dough onto a floured work surface and use a bench scraper to divide it into 12 equal pieces, each about 65 grams. Cover the pieces of dough with a towel and round each to a tight sphere. Cover the pieces of dough as they are rounded and after they’re all rounded, let them rest for 10 minutes.

Pita3-300dpi.jpg

Step 3:

Set a rack in the middle level of the oven, place a baking stone, heavy cookie sheet (or two) or an inverted jelly roll pan on the rack and preheat to 500° F. Place a rounded piece of dough on a lightly floured work surface, flour it and use the palm of your hand to press it to a fat disk. Use a small rolling pin to roll over the disk of dough, without rolling over the end in the same direction, and moving it frequently, to a 6-inch disk. Set the rolled dough aside covered. Repeat with the remaining pieces of dough. Once all the pitas have been formed, bake them starting with the first ones rolled: Open the oven and quickly slide as many as will fit on the stone or pan. Bake the pitas until they are nicely inflated and look like little spheres, about 3 minutes. Use a wide spatula to remove them from the oven and let them cool on a rack where they’ll deflate but not stick back together. Continue baking the remaining pitas the same way.

Pita4-300dpi.JPG

Enjoy the Pita Bread!

Compliments from Passion for Spices™ Team

Classic Breads from Around the World: Indian Roti

During these difficult times, Passion for Spices™ Team has put together beautiful illustrated recipes for you and your family to enjoy. Our first series is Classic Breads from Around the World, a three part series including Country Loaf Bread, Focaccia, and Flatbreads from Around the World.

Part 3: Indian Roti

This is a classic flatbread from India, and is a staple food for many families in different regions of India. Rotis are eaten alongside many vegetarian/non-vegetarian curries and subzis, which are mixed vegetable dishes made with seasonal vegetables. Gluten-free variations of the roti and many other Indian flatbreads can be found in May Fridel’s American Diabetes Association published Indian Cuisine Diabetes Cookbook. Enjoy making fresh rotis at home!


Ingredients

1 cup plus 1 tbsp whole-wheat pastry flour, divided
1/3 cup warm water
1 tbsp plus 1 tsp sunflower oil, divided
1/4 tsp salt
Optional: 1 tsp ghee (clarified butter)


Procedure

Roti1-300dpi.JPG

Step 1:

In a shallow bowl, combine flour, 1 tsp ghee, 1 tsp sunflower oil, and salt and mix well, but reserve 1 tbsp of flour for dusting. Now stir with one hand as you pour warm water, little by little, into the dry mixture. Mix dough until it reaches a consistency similar to pizza dough. Knead well to get a smooth dough consistency. Cover dough with a damp cloth and set aside for 30 minutes.

whole wheat roti

Step 2:

After 30 minutes, divide dough into 6 round balls and flatten each ball. Dust the flattened disks with remaining 1 tsp flour and, using a rolling pin, gently roll the dough into 6 inch diameter rounds.

Roti3-300dpi.jpg

Step 3:

Preheat a cast iron griddle or flat skilled over medium-high heat. Place a piece of dough in the skillet and roast about 1 minute, or until it begins to bubble. Now, turn the roti. Add 1/2 tsp of the remaining oil, spread oil all around, and continue to turn and roast the roti until it has brown edges on both sides, about 3 minutes. Using a flat spatula, press the middle of the roti as it is cooking so it cooks evenly. Repeat the cooking process with the remaining pieces of dough. Serve hot.

RotiFinal-300dpi.JPG

Enjoy the Indian Roti!

Compliments from Passion for Spices™ Team

Classic Breads from Around the World: Herb Focaccia

During these difficult times, Passion for Spices™ Team has put together beautiful illustrated recipes for you and your family to enjoy. Our first series is Classic Breads from Around the World, a three part series including Country Loaf Bread, Focaccia, and Flatbreads from Around the World.

Part 2: Herb Focaccia

Focaccia-Final-300dpi.JPG

Ingredients

1 tbsp. Granulated sugar
1 tbsp. Active dry yeast
12 oz. Lukewarm water
4 1/4 c. All purpose flour
2 tsp. Salt
1/2 c. Onion, finely chopped
6 tbsp. Olive oil, divided
3-4 tbsp. Fresh rosemary and Thyme leaves


Procedure

Focaccia

Step 1:

Combine the sugar, yeast and water. Stir well to evenly dissolve yeast.

focaccia

Step 2:

Stir in flour about ½ c. at a time.

CountryBread3-300dpi.JPG

Step 3:

Stir in 1 ½ tbsp salt and the onion.

focaccia

Step 4:

Knead for approximately 8-10 minutes, or until the dough is smooth and elastic – when shaped into a ball, poke the surface with a finger – it should spring back right away.

Focaccia5-300dpi.JPG

Step 5:

Cover and let the dough ferment in an oiled bowl until dough doubles in volume – when poked with a finger, a “dimple” should remain.

focaccia

Step 6:

Punch the dough down and work it until no more than one inch thick. Flatten onto a cookie sheet, which has layered with parchment that has been brushed with 3tbs. of the olive oil. Brush with the remaining olive oil, and sprinkle and herbs, Bake at 400 degrees about 20 minutes until lightly browned.

focaccia illustration

Enjoy the Herb Focaccia!

Compliments from Passion for Spices™ Team

Classic Breads from Around the World

During these difficult times, Passion for Spices™ Team has put together beautiful illustrated recipes for you and your family to enjoy. Our first series is Classic Breads from Around the World, a three part series including Country Loaf Bread, Focaccia, and Flatbreads from Around the World.

Part 1: Country Loaf Bread

CountryLoaf-Final-300dpi.JPG

Ingredients

2tsp. Active dry yeast

¼ c. Warm water

4 ½ c. All-purpose flour

2 ½ tsp. Salt

1 1/2 c. Cold water


Procedure

country white loaf bread

Step 1:

Pre-heat the oven to 425F. Combine the yeast and warm water in a mixing bowl. Briefly stir and let rest for around 3 minutes.

country white loaf bread

Step 2:

Mix the flour and salt together in a large mixing bowl. Stir in the yeast solution along with the cool water. Stir the ingredients until a sticky mass is formed.

CountryBread3-300dpi.JPG

Step 3:

Place the dough on a lightly floured surface. Knead the dough for approximately 5 minutes. Place in a lightly floured bowl, cover and let rest for 20 minutes.

CountryLoaf4-300dpi.JPG

Step 4:

Turn the dough out on to a lightly floured surface and knead for around 7-8 minutes. The dough will become smooth and elastic.

CountryBread5-300dpi.JPG

Step 5:

Place approximately 2tbs. of oil on the bottom of a large bowl. Put the dough in the bowl and roll it around until lightly coated with the oil. Cover the bowl and permit the dough to rise between 2-21/2 hours.

CountryBread6-300dpi.JPG

Step 6:

Turn the dough on to a lightly floured surface and “punch down” or depress the dough. Pat or gently roll the dough into a 1 inch rectangle. Taking one of the shorter ends, fold it over about 2/3 down. Giving the bread a quarter turn, take the end of the bread on top and fold it over . Then roll it up into an oblong loaf.

CountryBread7-300dpi.JPG

Step 7:

Lightly oil a loaf pan (9”x5” works best) and place the dough, seam side down, into the pan. Cover the pan with a sheet of plastic wrap, which has been lightly oiled, Let the loaf rise until double in size, around 1-1 1/4 hours. Place a pan on the bottom of the oven. Place the bread in the oven and pour around a cup of water into the pan. Then close the oven door. Bake for 10 minutes, then lower the oven to 400F. Continue baking for another 30 minutes, or until the bread is a deep golden brown. Carefully turn out the bread from the pan and cool on a rack.

CountryLoaf-Final-300dpi.JPG

Enjoy the Classic Country Loaf Bread!

Compliments from Passion for Spices™ Team